


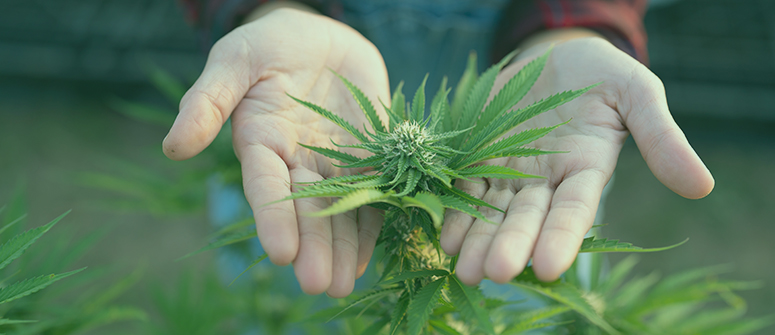
Nothing produces strong cannabis plants with plentiful buds like the powerful summer sun. Many growers choose to move indoor cannabis plants outdoors when the season and weather permit. Follow along to find out what you need to know to ensure happy, thriving plants.
Contents:
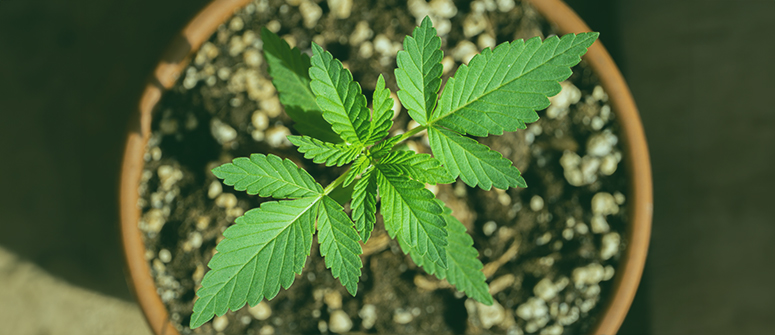
Growing bud is great fun, and depending on where you live and what time of year it is, the location in which you grow might change. Some people choose to grow indoors; others outdoors. And some start their cannabis seeds indoors, then move them outdoors, either to veg and flower, or just to flower.
In this article, we look at why, and how, you would move cannabis plants outdoors during their life cycle.
Why would you move cannabis plants outdoors?
There are many reasons to move cannabis that has been growing indoors, outdoors. Usually, this is a choice growers actively make to enhance plant growth or cut down on costs. But occasionally, circumstance forces our hand, and we are impelled to change the way we grow partway through the process. In these cases, we’re lucky if we have a garden that can take on a weed crop.
Some reasons you might move your cannabis plants outdoors are:
- To maximise plant development: You started plants off indoors beneath lights, and now they’re ready to thrive outdoors. Often, growers start their plants earlier in the season indoors so that by the time they transplant them outdoors, they’re more developed, meaning they grow larger and more bountiful.
- Free lighting: If you live somewhere where the outdoor climate is suitable for growing weed, why not utilise it? Sunlight is free, and it’s better for your plants than any artificial light. For this reason, some people believe that outdoor weed is the best kind out there.
- Extra space: Young plants are pretty small, and it’s easy enough to grow them indoors. But as they get bigger, you might have to move them outdoors in order for them to thrive.
- Multiple harvests: Some growers will start a crop early indoors, and then move it outdoors once the weather becomes suitable. Once this first crop is outdoors, a second crop can be started indoors, before also eventually being moved outside. Growers of autoflowering plants are particularly fond of this practice.
- Fight pests: If an indoor grow space faces infestation, you might need to move your plants outdoors. This way, you can get your plants out of harm’s way while cleaning and sanitising the grow space to ensure that if and when the plants return, the threat is gone.
- Technical failures: Say your lights break—in that case, a sudden move outdoors might be the only way to keep your plants illuminated while you search for an alternative.
In the rest of this article, we will discuss how to move your plants outdoors during the seedling/veg stage, for the flowering stage, and in case of unforeseen events.
When to move cannabis outdoors
Outside of an emergency, you should pick your moment carefully when moving indoor cannabis plants outdoors.
Choosing when to move them depends on what you want to achieve, which we will go into in more detail below. However, there are some general points to consider.
When dealing with photoperiod plants, being aware of light hours is crucial. Plants take their cues from how much light they are exposed to, and adjust their life cycle accordingly. So, for example, if you’ve kept them in the vegetative stage indoors but move them outside in late summer, they’re going to flower regardless of whether you want them to. Likewise, a plant that is put outdoors in spring or early summer will remain in veg, even if you’re ready for it to enter bloom.
Autoflowering plants are the exception to this, as they will flower after a predetermined veg stage (usually around 3–4 weeks). You can move them outdoors at any time during spring, summer, and early autumn, and they will perform well.
Light hours aren’t the only consideration. All plants—photoperiod and autoflowering—should only be moved outside if there is no risk of frost or freezing temperatures. You have to keep an eye on the weather, especially when you first move your plants outdoors. Indoor-reared plants are nowhere near as hardy as their outdoor peers, and so exposing them to adverse conditions will often go badly.
How to move cannabis plants outdoors
Depending on the scenario, the process of moving your plants outdoors will differ somewhat. In the following section, we’ll show you exactly how to move your plants outdoors to let them veg, to let them flower, and in case of emergency.
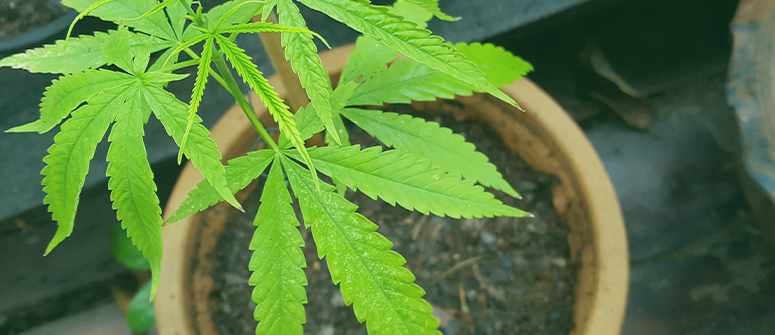
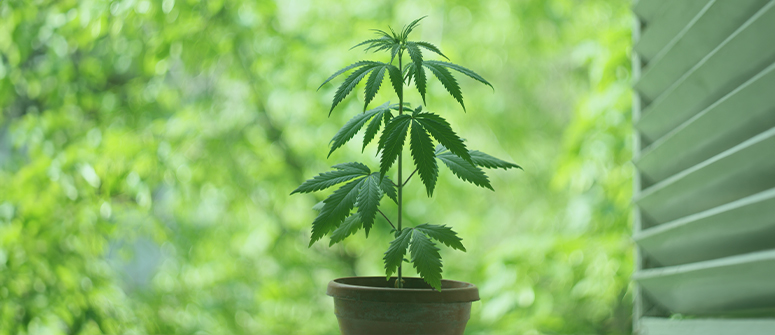
1. Moving plants outdoors to let them veg
Many growers will start their seedlings indoors under CFL grow lights to give them a head-start, and then move them outdoors under the sun once the weather is warm enough—and the days are long enough.
While this utilises the full power of the sun, and can rear monstrously big and productive plants, it’s also risky at first. Indoor-grown seedlings are tender beings, and the stress of moving outdoors can damage or kill them if it is performed carelessly.
Here’s what you need to know to move your seedlings outdoors and keep them healthy.
Decide when it’s time
If you’ve germinated seeds indoors and reared seedlings beneath lights for a few weeks, but intend to move them outdoors for most of their life, then you need to know when to do it. The key is to move them between the spring equinox (March 21st in the Northern Hemisphere; September 21st in the Southern) and the summer solstice (June 21st; December 21st).
By moving them outdoors during this period, you will ensure that they are exposed to the right photoperiod to vegetate—that is, over 12 hours of light a day. While more time outdoors is generally better, as they have more time to veg and grow beneath the sun, this has to be balanced against weather. Seedlings are easily killed off by cold snaps, so wait until the weather is reliably warm—with no risk of frost—before you move them outdoors.
Prepare your plants indoors
Before you put them outside to veg, you need to help them while they're still growing indoors. The key is to get them strong and healthy so that they can quickly acclimatise and keep growing.
Mostly, this just involves looking after them effectively. Water them enough, but not too much. Also, while they’re indoors, use a desk fan to gently blow air as the seedlings grow. This air movement causes micro-tears in the stems, which, like muscle fibres, come back stronger. Doing this will help the seedlings to become more resilient to the wind they’ll face outdoors. Fail to do this, and you might find that the slightest breeze knocks them over when you move them outdoors.
Harden off your plants outdoors
Once they’ve developed three or four true sets of leaves, and the weather seems about right, it’s time to transplant your seedlings outside. For best results, you shouldn’t just put them outside one day and leave them. Rather, you should harden them off. This process gradually acclimatises them to their new environment over a period of 7–14 days.
You can harden off plants in a cold frame, or directly outdoors. What follows is the simplest method, and doesn’t require any additional equipment.
- Find a location that’s warm and shady. For the first few days, put your plants here during the warmest part of the day, leaving them there for a few hours. You might think that exposing your seedlings to strong, direct sunlight would be good for them. But hardening off isn’t just about getting them used to cold nights and wind, but also the strength of direct sunlight.
- As the days progress, allow them to get one, then two, then three hours of direct sunlight per day, while also increasing the overall time spent outdoors. After around a week to 10 days, you can try leaving them out for a full 24 hours, getting at least 8 hours of direct sunlight per day. If all goes well, you can now leave them in their new homes.
- If at any point they show signs of stress, such as wilting, bring them indoors until they have recovered, and then continue the process.
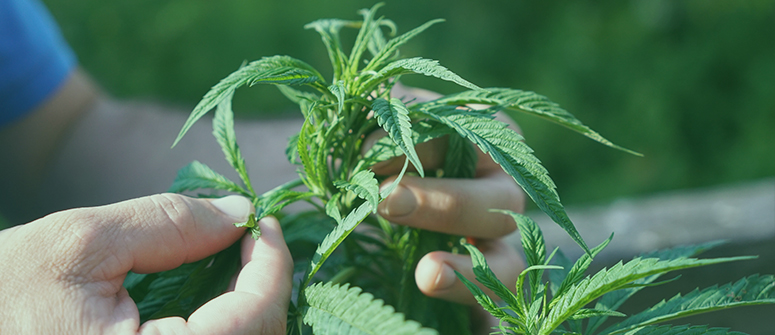
2. Moving weed plants outdoors to let them flower
Alternatively, growers might choose to rear their plants through the veg phase indoors, and choose to put them outside just for flowering. At this point they’ll be pretty tough and resilient, and should transition outside without many problems.
Decide when it’s time
If you’re growing photoperiod plants, you’ll need to move them outside after the summer solstice. If you move them before this, you’ll have plants that are vegging outside for a while (although it’s no problem if you do this).
If you move them outside around the solstice, you should be able to move them directly outdoors with little preparation. If, however, you choose to move them later in the summer, then you’ll have to get them accustomed to their new light cycle in the indoor grow space too.
If you’re growing autos, you can move them outdoors at any point during the summer, and they will flower on schedule regardless of the daylight hours.
Prepare your plants indoors
When you move cannabis plants outdoors, you’ll want to match up the daylight hours outdoors with the indoor light cycle so that you don’t stress them too much. Although, that being said, this is not absolutely essential.
If you want, you can gradually bring the indoor light hours down to match the daylight hours outdoors, over a couple of days. Doing this will make the move as comfortable as possible for your plants.
Move your plants outdoors
Once they’re ready, you just need to find a way to move these big plants outside. Don’t hurt your back! It’s best to let the soil dry out first, then move them outside—you might be surprised by how much of a difference it makes to their weight.
Other than that, as long as they’re healthy, you should be able to move them to their new home and leave them be without hardening them off first.
3. Moving your plants outside in cases of emergency
Though rare, you might have to suddenly move plants outside because something goes wrong in your grow space, such as an infestation or technical failure.
There are many potential problems associated with an unplanned move outdoors. If it’s winter, and you don’t live somewhere tropical or have a greenhouse set up, you risk not only potentially exposing plants to an incorrect photoperiod, but unsuitably cold and inhospitable temperatures as well. If your plants are young, you won’t be able to harden them off.
Still, needs must, so if you need to bring your plants outdoors for some reason, here are some steps you can take to mitigate damage.
Let them acclimatise
If possible, try to help them to acclimatise by bringing them back indoors during cool nights or periods of inclement weather. Any indoor space is better for indoor-reared plants compared to a cold and windy night, so make do with what you have. This is especially true if you’re suddenly moving seedlings or young plants outdoors.
Check them regularly
A sudden move is going to shock your plants, so pay extra attention to them and check on them very regularly so you get a sense of how they’re doing.
Try to keep everything consistent
Keeping the environment as consistent as possible is key, though it might be difficult with an unplanned move. Still, there are some things you can do:
- Bring your plants into a dark room for their dark period.
- Move plants into a greenhouse if possible; this is closer to an indoor environment.
- Stay consistent with feeding and watering.
Move them back in
If possible, you’ll likely want to move the plants back indoors as soon as possible. This will depend on why you moved them outdoors. If it was a technical issue, you’ll have to fix this first. And if it was an infestation, you’ll have to be sure that the grow space is properly clean.
Still, the quicker you can solve these issues and get your grow back on track, the better the results will be.
What are the dangers of moving cannabis outdoors?
The main risks of moving cannabis outdoors are:
- Stress caused by sudden changes can stunt growth and kill seedlings.
- A sudden change in photoperiod can throw off the plant’s internal processes and potentially change the stage of development.
- Moving outside in case of an emergency can be very destabilising for plants.
- Moving plants outdoors too early or too late in the year can cause issues with growth.
- The chances of infestation are higher outdoors.
Moving weed outdoors: final thoughts
There are many good reasons to move cannabis plants outdoors. If done well and at the right time of year, the results can far exceed anything you can grow in a small indoor environment. So long as you acclimatise young plants, and move plants outdoors at a time that corresponds to where they are in their life cycle, you shouldn’t encounter many issues.
If you have to move plants outdoors suddenly because of an issue with your grow, then you have to rely on fate somewhat. Some parts of the year are just not hospitable to cannabis plants, and other times might not match up with where your plants are in their life cycle. In this case, do the best you can, and get them inside again as soon as possible!
