


There are endless techniques with which to manipulate cannabis, each yielding different results. For those who need early harvests—or just more harvests—light deprivation is among the most useful. By triggering flowering early, this technique gives growers control over their crop's calendar while harnessing the sun. Learn how to do it here.
Contents:
- What Is Light Deprivation?
- The Benefits and Risks of Using the Light Deprivation Technique
- When To Apply the Light Dep Technique
- Applying the Light Deprivation Technique: Important Considerations
- Autoflowers and Light Deprivation
- Harvesting Twice per Year: Step-by-Step Light Dep Technique
- Growing Marijuana With Light Deprivation
For those of us who live in cooler climates, there are some photoperiod cannabis strains that are usually off limits. That sativa landrace sounds fantastic in theory, but it can’t deal with the cold. Or maybe you’re just after multiple, full-sized crops in a single season.
Either way, by harnessing the light deprivation technique, you can force early flowering in cannabis plants growing beneath the sun. In doing so, you give yourself a large amount of control over your grow, and the freedom to grow many more varieties.
What Is Light Deprivation?
Light deprivation, often shortened to “light dep”, is a technique primarily used on cannabis plants grown under natural light. Photoperiod plants—those whose stages of growth follow the seasons—rely on daylight hours to know what time of year it is, and how long they have left before they need to drop seeds. As summer ends and autumn approaches, photoperiod plants switch from the vegetative growth stage into the flowering stage, during which they begin to produce their highly sought-after buds.
But what does light deprivation do, exactly? By reducing the hours of light your plants receive, you can trick them into thinking autumn is on its way. This causes them to begin flowering before the weather gets too cold. So rather than actually waiting until October for a harvest, you can have it in July. And then get another one in time for October!
But it’s not just a method to get more harvests. In countries where winter comes in rapidly, or the autumn season is dominated by rain, the natural flowering times of many strains may run too late into the year. Therefore, light deprivation allows cultivators to trigger flowering early and grow a wider variety of cannabis.
Largely, this technique is used in small greenhouses, though it can also be done on windowsills and even with fully outdoor grows.
The Benefits and Risks of Using the Light Deprivation Technique
On the whole, the benefits of light deprivation outweigh the drawbacks. In fact, if done well, the drawbacks are fairly minimal.
Benefits of Light Dep
- Avoid the cold season and associated issues, such as bud rot
- Multiple harvests per season
- Creates a highly controlled environment
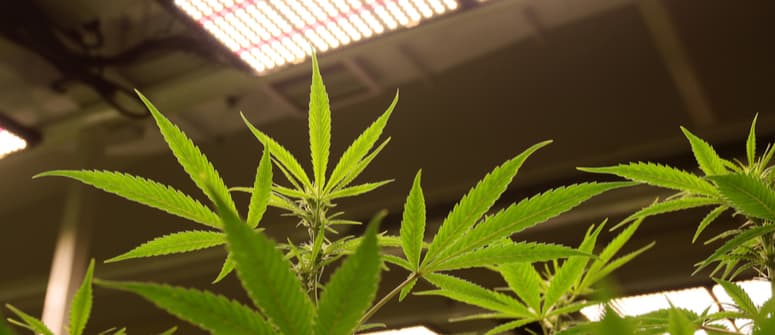
- Works well alongside supplemental lighting
- Uses natural light, which is good if you want to avoid artificial lighting entirely
Risks and Drawbacks of Light Dep
- Setting up light dep systems can be expensive and time-consuming
- Issues such as light leaks can cause hermaphroditism and stunted growth
- Rising temperatures can increase humidity
- Requires continual maintenance
- Does not work with autoflowering strains (though they tend to grow quicker anyway)
When To Apply the Light Dep Technique
Generally, around the beginning of July is considered the most suitable time to start depriving plants of light (in the Northern Hemisphere). By keeping them in darkness for 12 hours a day, you will trigger flowering. The best part is, as the days are shortening anyway, after around a month you will no longer need to shut off their light, as the days will be sufficiently short to keep them in the flowering stage.
It is very important that you don’t stop using light dep until the days are around 12 hours long. If the plants begin flowering, and then get exposed to too much light, they will revert back to the vegetative stage. So once you start flowering, you must keep a close eye on the light levels.
If you’re looking for a double harvest, perhaps consider starting around the solstice in June. For this to yield a good harvest, you will need to start your plants indoors under CFLs, and then move them into the daylight later in their lives. For the second crop, they may only be in natural light for the flowering period. Ultimately, this comes down to how much space you have available.
Applying the Light Deprivation Technique: Important Considerations
As with any technique in which you take on the role of nature, it must be done properly in order to be worthwhile. While you can yield fantastic results using light dep, if it is poorly executed, you’re likely to have been better off leaving your plants to the elements.
With that in mind, below are some considerations.
Covering Your Plants
While people and animals may be able to sleep soundly in a dim environment, to properly flower, weed plants need near-total darkness. So it’s not enough to shut out most of the light. Only a properly opaque covering will sufficiently trick your cannabis plants into thinking autumn has come. Any tears or gaps that let light in can interrupt the flowering stage, and may even stress a plant to the point that it develops hermaphroditism.
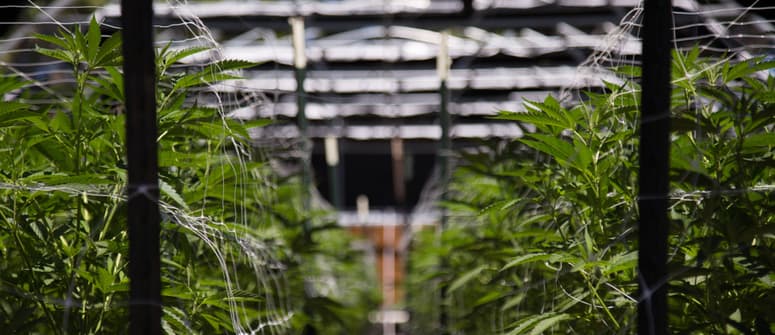
Greenhouse / Blackout Tent
Greenhouses and blackout tents tend to be the most commonly used environments to carry out light dep. Although any greenhouse can be used, as they increase in size they become significantly harder to cover and keep light proof. So for most people, a small greenhouse that can be totally covered with a tarpaulin is suitable.
Likewise, a blackout tent can be used. These are totally light proof, and are essentially just opaque greenhouses.
Outdoors
For outdoor cannabis growers, you will have to either build a structure around your plants, or have them on wheels.
For most, the former option is the easiest. Build a simple frame around your plants from which you can hang a light-proof tarp. Alternatively, if you have several plants growing close together, you can build a single hooped structure over them and throw a tarp over this.
The second option is to have your plant pots on portable structures that can then be moved indoors when you wish to deprive them of light. This involves a fairly robust device, as cannabis plants can get big, plus a large indoor space that is fully light proof. For most outdoor growers, this is not a viable option.
Windowsill
Growing weed on a windowsill provides a couple of options regarding light deprivation. Most simply, just close the curtains or blinds—though this is easier said than done. It will first require that your curtains are fully light proof, and second, that the room in which you keep the plant is fully off-limits during the dark hours—unless you rig up green lighting (the only type that cannabis doesn’t get triggered by).
Another option is to set up a smaller dedicated dark space, such as a tent or cupboard, and move your plants from the windowsill to that space each day. With this method in particular, it’s really going to depend on what you have available. Play around. As long as they’re in darkness, it will work. But be consistent.
Temperature Control
Covering a greenhouse with a thick tarp in the middle of summer has one clear disadvantage: it’s going to get extremely hot in there. The major danger here is that humidity will rise to such a level that bud rot becomes increasingly likely. And as bud rot is one of the main things we seek to avoid when using the light dep technique, we could do without the irony of causing it!
Therefore, it’s worth investing in a breathable tarp to ensure that adequate airflow keeps moisture levels desirable. An alternative option is to move the whole setup into the shade. However, there are various reasons why, for many people, this is just not an option.
So your best bet is to invest in a tarp and, if you don’t have it already, a system to keep air circulating, such as a simple oscillating fan.
If this is not an option, you’ll want to keep your plants uncovered at night, and then take on a morning light dep schedule. This means rising before the sun and covering your plants for a period in the morning, when the air is cooler.
Timing
Whenever you dane to cover your weed, consistency is key. As you’re tricking your plants into thinking it's later in the year, they will need ample darkness, preferably at the same time, for it to work effectively.
So you’ll need to decide beforehand when you’ll cover and uncover. Figuring out ventilation is key to making this decision.
For some, covering in the afternoon and removing at night will be more suitable, whereas others will need to cover in the morning.
Automating Your System
Alternatively, you can automate your system. Now, if you’re growing in a greenhouse or outdoors, this can get pretty complex and expensive. So you’ll have to decide whether the costs outweigh the time you’ll save not having to do it.
If you’re growing on a windowsill, though, things get much simpler. Simply installing automated blinds will suffice.
Though it may seem like overkill to automate the closing of curtains, it’s not just about saving you effort. Plants subjected to light deprivation have little tolerance for mistakes and inconsistencies. Given that, automating a system is as much about ensuring good results as it is about you spending more time in bed.
Strain Choice
Light dep is likely to inflict a little extra stress on your plants, no matter how well you execute it. Much of this stress will come in the form of humidity and heat. So it’s worth choosing strains that are pest and mould resistant, and have a liking for warm climates.
Also, as you’ll be limited by the size of your light deprivation contraption, you don’t want plants that are going to outgrow it. If this happens, the whole venture can fail, and you might have been better off not doing it.
Finally, if you’re using light deprivation because of your climate, you may as well choose a strain that would otherwise struggle to grow. There’s little point in going through the effort with a plant that already deals well with moisture and cold, or that’s ready by mid-September.
Autoflowers and Light Deprivation
As autoflowering strains flower based on their own genetic clock, rather than hours of light, light dep techniques won’t affect them.
This trait makes them a great alternative for those who want an early harvest but aren’t tempted by light deprivation. Plant an autoflowering strain in April or May, and it’s likely to be done sometime in August. So for those who want multiple harvests per season, or early harvests, autoflowering strains are another consideration.
Harvesting Twice per Year: Step-by-Step Light Dep Technique
So, now that we know how it works and some best practices, what is the process? These steps are for those who wish to get two harvests in. However, for those who just need an earlier harvest, the process is the same, only without the second grow that runs into autumn.
For this guide, we will assume that you are using either a blackout tent or a greenhouse with a tarpaulin. Both of these structures can be purchased, or you can build them yourself!
Step 1: Germination and Seedling Stage
First, you’ll want to germinate your marijuana seeds. This is best achieved in seedling pots or propagation chambers.
For your plants that are destined for an early harvest, start them indoors around March, beneath CFLs, for best results. This gains them extra growth time.
For those plants destined for a natural harvest, start them when the weather permits, around April or May.
Step 2: Vegetative Stage
Once your plants are in the veg stage, you’ll want to get them out in the sunlight—either in an uncovered greenhouse or directly under the rays. At this point, both crops will be vegging, only your first crop will be larger and more mature.
You now just want to leave your plants to imbibe the full uninterrupted strength of the sun until it’s time to flower.
Step 3: Trigger Flowering With Light Deprivation
Now it’s around late June or early July, and your first crop is getting pretty big. It’s time to trigger the flowering stage. Once you’ve determined your light deprivation schedule, you will cover and uncover them at the same time every day, ensuring 12 hours of total darkness. This will cause them to enter the flowering stage.
Once again, make absolutely sure your blackout tent or greenhouse is completely light proof, and that you maintain a consistent schedule. Around the end of July—when the days are 12 hours or less—you can halt the light deprivation schedule.
The second crop will be left to grow normally during this time. It should begin to flower around the same time that you stop depriving the first grow of light.
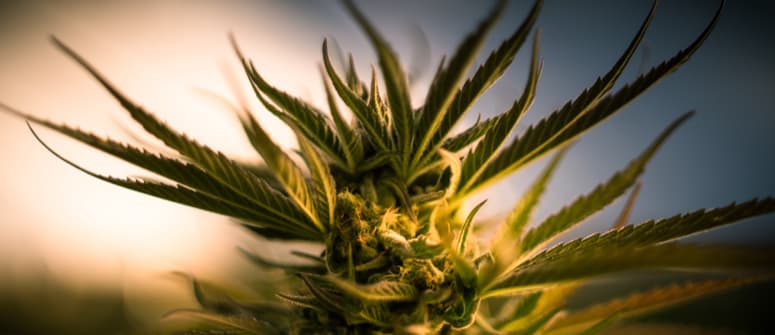
Step 4: Harvesting
Now your first crop should be well into the flowering period. Once the trichomes turn milky white and amber, you’ll know it’s time to harvest. For the first crop, this should occur between one and two months earlier than the second.
Growing Marijuana With Light Deprivation
Whether you want two massive harvests or you just need to avoid the incoming winter, light deprivation can provide. If done correctly, it has few drawbacks and yields great results. However, in order to do it correctly, you must be committed and consistent. Messing up a weed plant’s light schedule will cause it undue stress, and allowing the humidity to rise too much comes with its own risks.
But with a little care, it's simple enough, and offers growers much more freedom and control.
