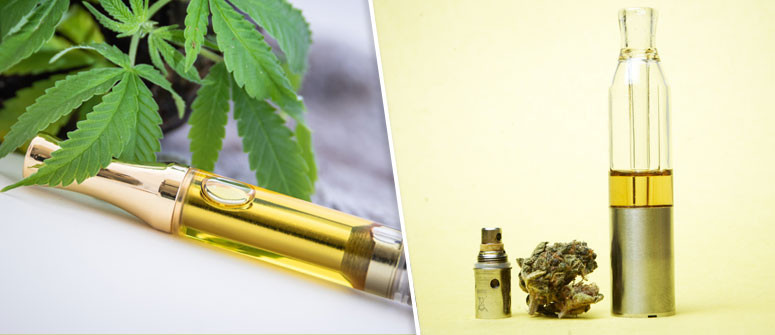
How to make your own cannabis e-liquid

Learn how to make your own DIY Cannabis e-liquid easily with our step-by-step cannabis e-liquid guide.
It seems, that everyone is getting on the vaping train these days and that sure is a good thing. Studies so far show evidence, that vaping is likely a healthier alternative to smoking.
But vaping doesn’t just mean, that you can enjoy the ample available tasty flavours of e-liquids instead of the ol’ smokes. How about vaping to get your daily dose of precious herbal medicine!
You can easily buy ready-to-use CBD vape juice. If, on the other hand, you want an e-liquid with THC, you will have to make it yourself.
Here is our guide on how to make your very own, highly-concentrated cannabis e-liquid. All you need is some readily available ingredients and to closely follow the steps below.
Before we begin, a word of caution:
This method of making e-liquid involves heating alcohol. Follow the steps below carefully and make sure, that your workspace is well ventilated. Alcohol is highly flammable!
INGREDIENTS NEEDED TO MAKE YOUR CANNABIS E-LIQUID
- About 6 gram of quality bud (alternatively you can also use shake and trimmings)
- Food-safe propylene glycol or PG (available in pharmacies and vaping shops)
- 5ml Dropper bottles (pharmacy/vaping shop)
- High-proof alcohol (Ethyl alcohol, ethanol. Do not use isopropyl alcohol, also known as rubbing alcohol!)
- 2 Mason jars
- Cheesecloth (or coffee filter)
- Baking sheet, aluminium foil
- Cooking pot
DECARBOXYLATE YOUR FRESH BUD
- We will start with decarboxylation. This process converts the THCA (and CBDA) in your fresh bud into psychoactive THC.
- Place the aluminium foil on a baking sheet. Finely grind up your bud and spread it evenly across the foil.
- Set your oven to low/medium heat of 110-120°C and put the sheet with your ground buds into the oven for about 15 minutes. This should be enough to allow your weed to get dry and possibly turn slightly brown. Afterwards, take the decarboxylated weed out of the oven and put it in your mason jar.
- Take the alcohol and pour it in the jar with your decarboxylated weed, so that the weed is completely covered. Keep the jar open and don’t use a lid.
- Fill your cooking pot with about 4cm of water. Place the jar with the decarboxylated weed and alcohol mix into the pot. We do this as a precaution so that the alcohol won’t overheat. Remember to be careful, since alcohol is highly flammable!
- If your stove has a vent, turn it on and also make sure that your space is well-ventilated. You can open a window for example.
- What we want to do, is boil off some of the alcohol in the jar. Continually stir your alcohol/cannabis mix. The alcohol will start to extract the THC and other goodness from your weed. Boil off just enough alcohol, keeping your bud submerged in the jar. You will start noticing that the liquid is appearing darker.
- Once some of the alcohol has boiled off, add more to the jar and fill it up to the same level as you had it before.
FILTERING YOUR CANNABIS MIX
This step involves filtering the cannabis mix, that you just made.
- Take some cheesecloth or a coffee filter and put it over the second mason jar. Pour the mixture through the cloth into the jar. While doing so, you can squeeze your bud to get all of the remaining alcohol out of it.
- Put the second jar with your filtered mix into a pot with water and reboil the water. Boil the remaining alcohol mix, so that only about 5ml of liquid will remain in the jar when you're done. 5ml is a rather tiny amount of liquid, but that liquid will be very concentrated. A small syringe or a dropper can help you check on the right amount.
- Now, add propylene glycol to your highly concentrated cannabis mix. Since you made 5ml of concentrate, add 20ml of propylene glycol for a total of 25ml. The finished e-liquid should have a dark, green colour.
- If you want, you can dilute your mix even more with PG, depending on your own preferences. Optionally, you can filter your mix again or continue to heat it to get rid of the remaining alcohol, though this isn’t required.
Your DIY cannabis e-liquid is now ready for vaping! Pour it into a dropper bottle and store it in a cool and dark place.


